A wall design becomes a finished acrylic piece through several controlled stages: artwork preparation, material selection, laser processing, assembly, finishing and inspection. By following those stages, you can prepare a fabrication-ready brief, compare production choices and identify the checks that determine whether the final decor hangs cleanly and looks as intended.
Key takeaways
- Supply closed vector paths with a defined scale.
- Choose acrylic by colour, edge appearance and durability needs.
- Approve alignment, engraving and installation details before packing.
- Inspect every part for chips, scratches, wrong colours and fit.
The artwork becomes a cut-ready production file
A laser cannot cut a photograph or loose sketch; it needs closed vector paths with a defined scale. In the coloured acrylic wall decor production process in Noida, the approved reference is converted into geometry using Adobe Illustrator, CorelDRAW, SVG, DXF or AI files.
A raster image is traced and corrected manually, while a CAD drawing is checked for scale and manufacturability.
1. Confirm the finished width, height, viewing orientation and acrylic thickness before drawing. Include mounting holes, slots, alignment points and clearances in the file rather than adding them later.
2. Rebuild the artwork as clean contours. Remove duplicate paths, open contours, overlapping lines and unjoined nodes; these faults can trigger a double cut or leave a shape incomplete.
3. Assign separate layers for through-cut lines, engraved areas and score or marking lines. Use a named layer for each colour or physical acrylic piece so the operator can identify what gets cut from each sheet.
4. Check small details against the material. Hairline features, narrow bridges and tight internal corners can break during cutting or assembly, even when they look correct on screen.
5. Prepare a scaled proof showing the cut lines, engraving, colour layers and mounting positions. Approve this proof before machining, and mirror rear-face engraving when the graphic must be read through clear or translucent acrylic.
The final production file is therefore more than an image export: it is a measured, layered instruction set for acrylic wall decor laser cutting in Noida. A PDF preview alone cannot prove that its paths are closed.
Material choice determines colour, edge and durability
The sheet specification fixes the colour, edge appearance and strength before cutting starts. In custom acrylic wall decor manufacturing in Noida, confirm the acrylic type, colour reference, thickness, surface finish and whether the colour runs through the sheet or exists only on the front face.
| Option | Finished appearance | Production and durability effect |
|---|---|---|
| Cast acrylic | Clean, polished-looking cut edge with consistent colour | Best for detailed lettering and engraving; it resists stress-related crazing better than extruded sheet |
| Extruded acrylic | Similar colour range but a more heat-sensitive edge | Suits straightforward shapes and tighter budgets; heat can increase burrs, melting or edge distortion |
| Opaque or translucent sheet | Solid colour or diffused light transmission | Opaque sheets give stronger graphic contrast; translucent sheets change appearance under backlighting |
| Mirror or face-coated acrylic | Reflective or coloured front surface | Cutting orientation matters because the coating can chip, burn or face the wrong direction |
| 3 mm or 5 mm thickness | Thin, light panel or deeper, sturdier panel | Thin sheet reduces weight but flexes more; thicker sheet improves rigidity and stand-off mounting but adds weight and cutting time |
Confirm the exact colour code or approved physical sample, not just “blue” or “gold.” Also specify whether the laser cuts from the coated face or the reverse, because the wrong orientation can ruin the visible finish. Remove smoke residue and masking carefully; aggressive solvents can whiten edges or create crazing around holes.
Laser cutting and engraving turn the file into parts
The approved sheet is checked against the order before acrylic wall decor laser cutting in Noida begins. Operators confirm colour, thickness, surface finish and whether the colour runs through the sheet or sits in a face coating.
They clean the bed, set focus and extraction, and leave compatible protective paper or polyethylene film on the face to limit smoke deposits and scratches.
1. The sheet is placed flat and secured so heat cannot shift it during processing. A small test cut confirms the power, speed, frequency and air-assist settings for that acrylic thickness; excessive heat leaves a hazy edge, while insufficient energy produces incomplete cuts.
2. The machine follows separate vector layers for cut lines, engraved areas and score or marking details. Duplicate paths, open contours and unjoined nodes must be removed, or the laser can cut a feature twice or leave a part attached.
3. Engraving is completed on the specified face and orientation. Mirror-faced and face-coated acrylic need particular care because cutting or engraving the wrong side can destroy the visible finish.
4. The operator removes each cut piece from the sheet, labels colour layers and checks the first components against the drawing. Masking is peeled back for inspection, revealing smoke residue, scratches, edge haze or engraving with weak contrast.
The first-article pieces then receive any required deburring, cleaning, countersinking or drilling. Aggressive solvents are avoided because stressed acrylic can craze or whiten around holes and cut edges.
Separate colours are aligned, finished and made installation-ready
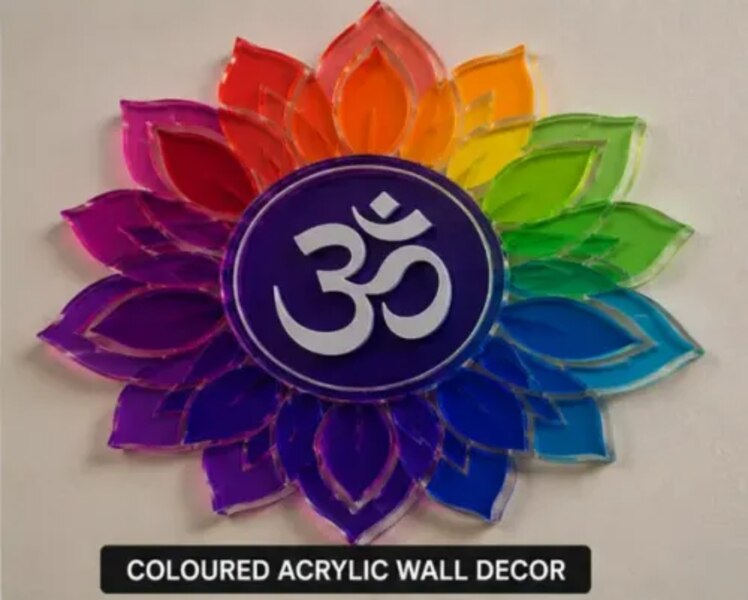
A multi-colour design is assembled from separate acrylic layers, not from one sheet that changes colour during cutting. A coloured acrylic wall decoration maker in Noida aligns these pieces with registration holes, engraved marks or a temporary jig so small positioning errors do not accumulate across stacked layers.
1. Remove smoke-prone or unsuitable masking before assembly, then inspect each face for residue, scratches and edge haze. Keep compatible protective film on during acrylic wall decor laser cutting in Noida, but do not approve parts until the film is removed.
2. Match every layer to the approved artwork and check the colour, thickness, orientation and engraved detail. Dry-fit cut-out inlays, stacked letters and overlapping shapes before applying adhesive; squeeze-out on the visible face can permanently spoil the finish.
3. Select the mounting system from the finished weight and wall surface. Stand-offs need correctly sized holes and safe edge distances, while keyhole slots, rear recesses, adhesive pads and direct screws require different rear clearances and load paths. Drilling near an acrylic edge can cause cracking.
4. Assemble on a flat jig, using spacers where the design requires a fixed gap. Confirm that the completed piece sits flat, that layers do not twist, and that every hole, slot or recess remains accessible for installation.
5. Peel remaining film, clean the approved surfaces, protect vulnerable edges and include the fixing hardware or a dimensioned mounting template. Record the final overall size and hole positions before packing.
Inspection catches defects before packing
A proper quality check compares the completed decoration with the approved artwork, order and first-article sample before it reaches packing. It checks appearance, geometry, assembly and hanging performance—not just the outside outline.
1. Confirm the acrylic colour, sheet thickness and surface finish against the order. Reject mismatched shades, wrong gauges or face-coated material cut on the wrong side.
2. Measure the overall width, height and critical feature positions. Check mounting holes, slots and cut-outs with the approved drawing; a small hole error can prevent installation.
3. Inspect every visible face under clear light for scratches, chips, fingerprints, edge haze, scorch marks and cloudy or uneven cut edges.
4. Review engraved lettering, symbols and graphics for correct orientation, depth, completeness and contrast. Rear-face engraving must read correctly through transparent or translucent sheet.
5. Place the coloured layers together and check registration at borders, corners and engraved features. Misalignment becomes obvious when a narrow outline or offset shadow is intentional.
6. Examine adhesive joints for gaps, lifted corners and squeeze-out on the front face. Pressed layers must remain secure without visible glue contamination.
7. Set the finished assembly on a flat surface and test its specified hanging points. It should sit flat, remain stable and avoid twisting under its own weight.
For a first article, Laser Job Services can record these checks against the approved sample before releasing the remaining quantity. Protect the accepted faces with suitable film or wrapping, then confirm that labels, hardware and installation instructions match the packed design.
Related product
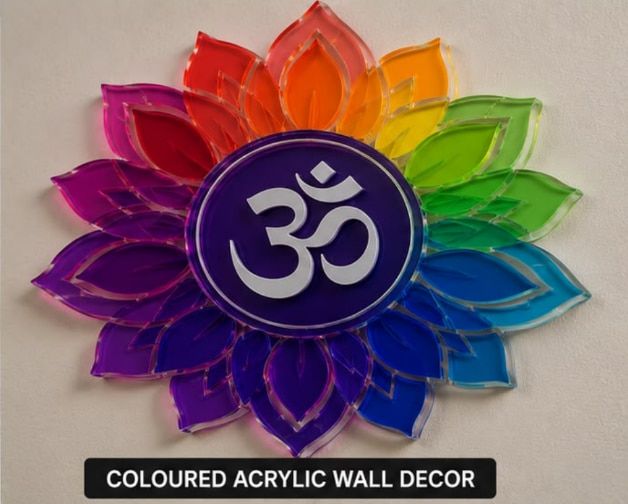 | Laser Engraved Acrylic Laser Job Services is a manufacturer of precision laser-cut and engraved acrylic products, offering customised solutions for home décor, spiritual... View product → |
Frequently asked questions
What file does coloured acrylic wall decor production require?
Production requires closed vector paths with a defined scale. Common formats include AI, SVG, DXF and editable Adobe Illustrator or CorelDRAW files.
How does material choice affect acrylic wall decor?
Acrylic selection affects the final colour, edge appearance and durability. Confirm the sheet colour, thickness, finish and intended installation conditions before cutting.
How are separate acrylic colours prepared for installation?
Each colour is cut and engraved as specified, then the parts are aligned, finished and checked against the approved artwork. Installation-ready packing keeps the pieces organised.
What defects are checked before acrylic wall decor is packed?
Inspection checks dimensions, colour, engraving, cut edges, chips, scratches, surface marks, alignment and the fit of separate parts before packing.
Keywords